
Comments are the lifeblood of many websites. They help you build a community around your brand, encourage discussion and engagement, provide valuable feedback, and even improve your search engine rankings. Whether you have a blog, service-based business, eCommerce store, or any other type of website, comments can be invaluable.
So let’s take a step back and explore the WordPress comment system and look at how to manage comments on your WordPress site.
What are WordPress comments?
WordPress started as a blogging platform and, though it can now be used to build absolutely any type or size of website, content is at its heart. And because of that, WordPress provides everything you need to accept comments on your site. You won’t need any additional plugins to enable, manage, and respond to comments.
For your site visitors, the comment system is very easy to use. While the exact design of your comment form will vary based on the theme you’re using, it will look something like this:
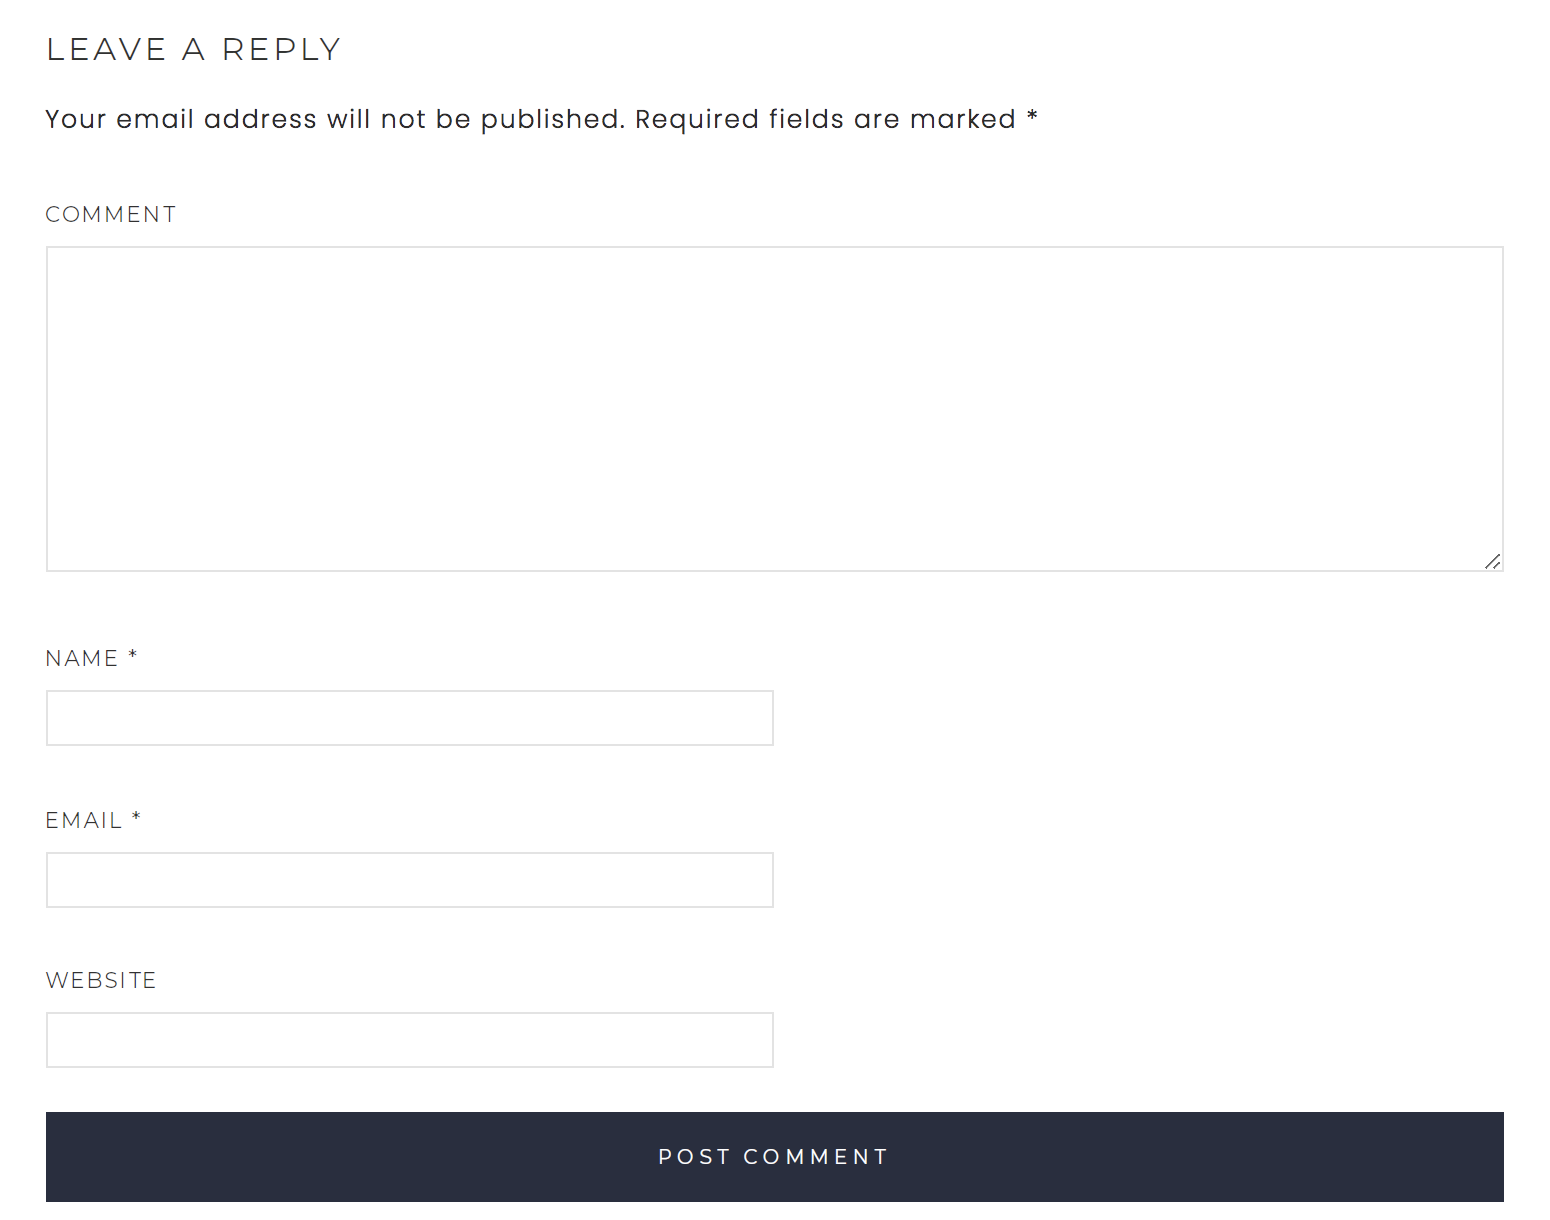
It has a comment text box, along with fields for name, email, and website. Visitors click the Post Comment button to submit their comment on your WordPress website. Published comments will appear in a list beneath the post and, depending on your discussion settings, responses will nest underneath the comments they correspond to.

Each comment will show the commenter’s name, along with the date and time they responded. Don’t worry — their email address won’t appear on the front-end of your site. Comments can be enabled for posts, pages, products, and other post types depending on your website and settings.
How to access your comments in the WordPress dashboard
Of course, you’ll want to view your comments, respond to them, and delete any that may be spam. While we’ll dive further into this in a moment, let’s look at how to find your comments.
By default, you’ll receive a notification each time someone leaves a comment on your site. If you want to view that specific comment, you can click on the link in the email. But if you want to view all comments, simply log in to your WordPress dashboard and click Comments in the left-hand menu.
How to manage WordPress comments
While comments can be extremely beneficial, they do also involve a bit of work on your end. You’ll want to respond to legitimate comments and answer questions quickly and thoroughly. It’s also important that you learn to identify and stop comment spam.
Once you navigate to the Comments section of your website, you’ll see a full list of comments. Those that are approved will be gray or white in color, while those that are pending will have a light yellow background.

At the top, you’ll see several tabs that help you manage comments:
- All: Shows all the comments you have on your site, pending and approved
- Pending: Displays just comments that are waiting on your approval and response
- Approved: Shows just the comments you’ve approved and published
- Spam: Displays comments that you (or a spam plugin) have marked as spam
- Trash: Shows comments that you’ve moved to the trash and allows you to permanently delete them
You can use these tabs to filter your comments as needed. For example, if you want to sit down and respond to comments, you may want to click the Pending tab so you just view the ones that are waiting on a response. Or if you want to periodically get spam comments out of the way, you can click the Spam tab and move them into the trash.
Each individual comment shows the respondent’s name, their number of approved comments, their email and IP address, and their Gravatar if they have one set for their email. You’ll also see what the comment says, the post it was on, and the date and time it was submitted.

When you hover over a comment, a list of actions will appear, side-by-side. Here are the actions you can take for each comment:
- Approve/Unapprove: Approving a comment publishes it on your site so it can be viewed by anyone online. Unapproving it removes it from public display.
- Reply: Respond to the comment and answer any questions. This will be published on your site with your name and, depending on your settings, will nest under the comment it’s in response to.
- Quick edit: Make quick changes to the comment. Edit the name, email, website, and response. You could, for example, remove a link to a third-party site if you don’t allow cross promotions.
- Edit: This opens a new screen where you can make changes to a comment and view its history on your site.
- History: See the history of the comment, like when it was published, approved, and more.
- Spam: This moves a comment into your Spam folder and keeps it from appearing on the front-end of your site.
- Trash: This moves a comment to your Trash folder. If you accidentally put a comment in the trash, you can still restore it if needed.
Let’s take a closer look at a few more components of managing comments.
How to edit comments in bulk
Manually managing comments can be time-consuming and tedious. But it’s a necessary aspect of engaging with visitors and protecting them from potentially dangerous spam. Thankfully, there are some actions you can take to manage comments in bulk.
In the comment dashboard, you’ll see a checkbox to the left of each column, as well as at the top left, next to the Author column. You can use these to check specific comments you want to edit or to select all of the comments on that page. Once you’ve checked them, click the Bulk Actions dropdown and choose to approve or unapprove the comments, or mark them as spam or trash.

By default, this screen will show 20 comments per page. Want to edit more than that? Expand the Screen Options tab at the top right of the page, type in the number you want to show in the box beside Number of items per page, and click Apply.

How to restore comments from the spam or trash folders
But what if you accidentally mark a comment as spam or add it to the trash? Don’t worry — you can restore it back to where it belongs.
If you marked the comment as spam, simply click on the Spam folder, hover over the comment, and click Not Spam. If you put it in the trash, click on the Trash folder, hover over it, and click Restore.

How to permanently delete WordPress comments
By default, trashed comments are still saved in your database — they’re just tucked away so they won’t show up on your website. But, from time to time, you may want to permanently delete these so as not to clog up your database.
To do this, navigate to the Trash folder. Then, click the button that says Empty Trash. Note that this will permanently delete all the comments in this folder and you won’t be able to bring them back.

An overview of WordPress discussion settings
WordPress offers a variety of settings that help you tailor your comment section to your specific site, audience, and needs. You can find these by going to Settings → Discussion in your WordPress dashboard. There are several comment sections with individual options inside of each one. Let’s break these down.

Default post settings
This section controls how your site interacts with comments. Here are the options:
- Attempt to notify any blogs linked to from the post: If you link to someone else’s WordPress blog post, this setting will enable WordPress to send a notification or “ping” letting them know.
- Allow link notifications from other blogs (pingbacks and trackbacks) on new posts: Pingbacks and trackbacks appear in your comment section when someone links to your blog posts. They can be a great display of trust from other sites, but can also quickly overwhelm your comments, so consider this carefully.
- Allow people to submit comments on new posts: This enables comments across your entire website.

Other comment settings
These are miscellaneous settings that apply to your comments and are as follows:
- Comment author must fill out a name and email. This requires each respondent to leave their name and email when they leave a comment and can be helpful for preventing spam.
- Users must be registered and logged in to comment. This requires commenters to have an account. While this goes a long way towards spam prevention, it can also discourage many people from commenting. You may want to reserve this setting for situations like membership sites or forums.
- Automatically close comments on posts older than 14 days. This turns off comments on blog posts after a certain number of days — the default is 14 if this setting is enabled. This prevents you from having to moderate comments on posts from months or years ago and is especially helpful if your posts are time-sensitive.
- Show comments cookies opt-in checkbox, allowing comment author cookies to be set. This adds a checkbox to your comment form that says, “Save my name, email, and website in this browser for the next time I comment.” This helps you stay compliant with privacy laws like the GDPR.
- Enable threaded (nested) comments 5 levels deep. This allows comment responses to nest (tuck) underneath the comment they’re in response to. By default, they will nest five levels deep, but you can change this to whatever you’d like or turn it off altogether.
- Break comments into pages with 50 top level comments per page and the last page displayed by default. This divides the comments on the front-end of your site into pages, defines the number of comments per page (the default is 50), and lets you choose whether or not to display the first or last page by default.
- Comments should be displayed with the older comments at the top of each page. This sets the order in which your comments should display. Choose between “older” and “newer.”

Email me whenever…
This section controls the email notifications you receive in regards to comments on your site. You can receive a notification when:
- Anyone posts a comment
- A comment is held for moderation

Before a comment appears…
Choose what must occur before a comment appears on the front-end of your website:
- Comment must be manually approved. When this is turned on, you’ll need to manually approve each comment for publication. Turning this on gives you full control over what is published, though this process can be time-consuming.
- Comment author must have a previously approved comment. This automatically publishes comments from people who have written a comment that you’ve already approved. This is a great way to save valuable time but still reduce spam.

Comment moderation
This section allows you to hold comments in the moderation queue (rather than publish them automatically) if they meet certain criteria.
Links are a very common indication of spam — bots and malicious actors often try to send your website visitors to harmful third-party sites of their own. The first setting in this section allows you to hold a comment based on the number of links it contains. The default is two, but we recommend setting this to one, as there’s rarely a viable reason to include a link in a comment.
Below this option, you’ll see a text field that allows you to hold comments that meet the characteristics you define. So, if you’re getting a large number of spam comments that contain certain words or phrases, are from the same email or IP address, or push the same URL over and over, you can list those here.

Disallowed comment keys
This section is very similar to the previous one, but it sends comments that meet certain criteria straight to the trash. Here, you can list words, author names, URLs, email addresses, IP addresses, or browser user agent strings.

Avatars
An avatar is the picture that shows up next to a respondent’s name. This is typically set by the person using Gravatar and is based on the email address they use to submit comments. Here are the options you can choose from:
- Avatar display: Choose whether or not to show avatars on your site
- Maximum rating: Block any images that fall above a certain maturity rating
- Default avatar: Set a default image to display if a respondent doesn’t have an avatar
Comment settings for individual posts and pages
The settings above apply to all posts and pages across your site. However, there are a few things you can choose on an individual basis.
Start by going to the page or post you want to edit and clicking the gear icon in the top right. There, you’ll see a list of settings. Scroll down to the Discussion section.

There are two options for comments here:
- Allow comments. Check this box to enable comments for this specific page or post. Uncheck it to turn off comments.
- Allow pingbacks & trackbacks. Decide whether or not to enable pingbacks and trackbacks on an individual page basis. These are ways to let other blogs know that you’ve linked to them within your content.
Once you’ve edited the settings, click the blue Update button at the top right of the page.
But there may be times that you want to edit specific posts in bulk. For example, you might want to close comments on all posts around a certain topic. Or may you want to enable comments just for pages about your services.
To do this, navigate to Pages or Posts in the WordPress dashboard, depending on which you’d like to edit. To the left of each page or post, you’ll see a checkbox. Check that next to each post or page you want to make changes to, or select the checkbox beside the word Title to select all the ones on that page.

Then, in the Bulk actions dropbox, select Edit and click Apply. A new section will appear with various settings. Find the Comments dropdown, choose to either turn comments on or off, then click Update. That change will be made to all the posts you selected.
How to allow individual users to moderate comments
If you get a lot of comments, moderation can become time-consuming and overwhelming. After all, you have plenty of other things that need your attention! One great solution is to assign the task of comment moderation to specific people. Not only does this mean you won’t have to handle this process, it also means that commenters get responses faster.
So how do you do this without giving moderators full access to your site? While there are a few methods, we’re going to show you how with the Comment Moderation Role plugin.
- In your dashboard, go to Plugins → Add New.
- Search for “Comment Moderation Role by WPBeginner” and click Install now → Activate.
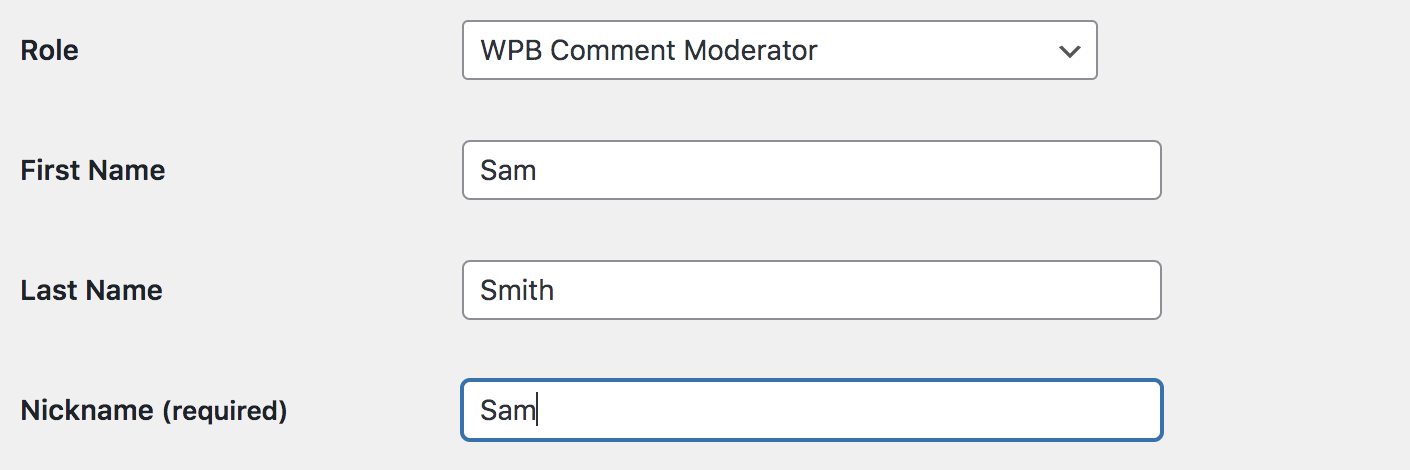
- Then, navigate to Users → All Users and select the account you’d like to modify.
- In the Role box, select WPB Comment Moderator.
- Click the blue Update User button at the bottom of the page.
Now, that user will be able to access the comment moderation screen in your dashboard, but nothing else. This allows them to do their job without compromising the security of the rest of your site.
How to achieve a spam-free WordPress comment section
Now that you know all about the WordPress comment system, you can enable comments across your website and create a community around your brand! But if your comment section is full of unhelpful, unrelated, and potentially dangerous spam, then your brand, search engine rankings, and engagement can actually suffer.
Thankfully, you don’t need to add spam filtering to your list of moderation tasks; Akismet can take care of this for you! Simply activate the plugin — its powerful tools have stopped more than 548,000,000,000 spam comments — and the worst spam will be automatically deleted for you. You never even have to see it.
Learn more about how to stop comment spam in WordPress.

Any tips or deceives where you can have both WordPress remarks and facebook remarks together or a method for offering both?
Thanks for the questions Wanda! I would recommend checking out one of our recent posts titled “The Best WordPress Comment Plugins Compared (2022 Review)” (https://blog.akismet.com/2022/02/09/best-wordpress-comment-plugins-compared/)
In that post you’ll see we talk about the plugin “Social Comments by WpDevArt”, I think that enables what you are asking about.