
Converting visitors into registered users is a big win for any website. If you’re going to build a loyal community, a quick and easy user registration form is essential.
Fortunately, there are various ways to create a custom WordPress user registration form. With the right tool, you should have no problems capturing leads, building your mailing list, and reaping the many other benefits of user registrations.
In this post, we’ll discuss why registration forms play a huge role in running a successful website. We’ll then cover four ways to create an effective form.
An introduction to user registration forms
Internet users typically create accounts with websites by entering their personal information into registration forms. You’ll find these forms across the web, including on forums, online job boards, membership websites and social media sites.
An admin can create user accounts in the WordPress dashboard by navigating to Users → Add New, but this process requires time and effort, especially if you have thousands of users.
The admin also needs to know all of the user’s personal information and assign them a password. This can become a security vulnerability if the new member doesn’t change their login information immediately.

By creating a public user registration form, you can significantly reduce your admin’s workload. You can also improve your website’s security since the admin doesn’t know the passwords for the user accounts.
Additionally, if you offer memberships, a quick and easy registration form is essential for capturing leads and driving conversions. You might even generate a profit by charging your members.
Many online stores also use registration forms to encourage brand loyalty. After completing the signup process, customers may be more inclined to visit your store again.
In addition, many registration forms collect personal information, like customer postal addresses. You can then use this data to auto-complete subsequent forms. This feature can improve the checkout experience, potentially reducing cart abandonment rates.
You might even use this information to target visitors with personalized content, advertisements, or email marketing. For instance, you could create targeted email campaigns.
These segmented campaigns typically deliver 74.53 percent higher click rates than non-segmented ones. Your targeted campaigns may include exclusive coupon codes for products that customers have previously purchased. The emails could also include new blog posts that subscribers may be interested in reading.
Overview of 4 different ways to create a custom WordPress user registration form
Now that we’ve explored the pros and cons of each approach, let’s see some solutions in action. Here are four different ways to create a custom user registration form for your WordPress website!
1. The WordPress built‑in user registration form
You can create a basic user registration form with WordPress built‑in settings. This feature is quick and easy to set up and requires no extensive configuration.

Note that the built-in WordPress registration form simply collects a user’s email address and password. You can’t add more fields without diving into your site’s code. This means that you miss out on capturing important information.
For example, if you’re running an eCommerce site, you may want to record a visitor’s postal address. It isn’t possible to get this data with the WordPress built‑in registration form, potentially impacting the effectiveness of your membership functionality.
The built‑in registration form will also appear on a separate page, without an easy way to change its location. For a more seamless user experience, many sites choose to embed registration forms within their content. They may even add the feature to recurring areas, like the website footer.
Featuring this form alongside your site’s content is a great way to encourage signups. This isn’t possible using WordPress built‑in features unless you’re willing to edit your website at the code level.
2. A custom‑coded user registration form
As an open‑source platform, WordPress gives you complete access to its source code. This openness lets you extend the core software and add extra features.
If you’re comfortable editing WordPress at the code level, it’s possible to customize the built-in registration form. This option has more flexibility without weighing down your site.
It can also help you control the data that customers enter into your forms. This is particularly true when comparing this method to using a third‑party plugin or external form‑building tool.
Note that writing custom code requires a considerable amount of technical knowledge. Editing WordPress at the code level can also be risky. For example, if you make a mistake, you could take down your site or cause conflicts with existing themes, plugins, or WordPress core. Or you could even create a security vulnerability that hackers might take advantage of.
To minimize the dangers, we recommend implementing all of your changes through a site-specific plugin. You can then deactivate this plugin if it causes issues on your website.
Still, it’s wise to create a full backup before making any changes at the code level and test them on a staging site so you can spot and resolve issues before rolling out changes to a live site.
3. Third-party tools
You can also offer user registration with a third-party tool like Google Forms. Typically you’d be able to share the same form across multiple locations and platforms by opting for a cloud-based service.
For example, you might embed the form in your WordPress website, email marketing campaigns, and social media pages.

With cloud-based platforms, you can often view your responses in a single, centralized location. This setup can make it easier to analyze your results and share them with your team members.
Still, it may be difficult to seamlessly integrate third-party forms with your website. You’ll also need to ensure the form perfectly complement’s your site’s branding.
And not all third‑party form builders are correctly optimized for mobile, including some big names like Google Forms. This limitation means that people visiting your site on mobile devices may not have the best user experience. With over 60 percent of the global internet population using a mobile device to go online, a lack of form optimization is a significant drawback.
Depending on your chosen tool, third‑party forms may also negatively impact your site’s speed. This is bad news for conversion rates and your website’s overall performance.
4. Form builder plugins
You can also create a wide range of custom WordPress user registrations forms with a plugin. These tools often give you complete control over your form’s design and the type of information you collect.
Some plugins can impact your site’s performance or conflict with other software. So, we recommend researching potential plugins carefully.
If you’re downloading the plugin from the official WordPress repository, then you can check out its most recent reviews.
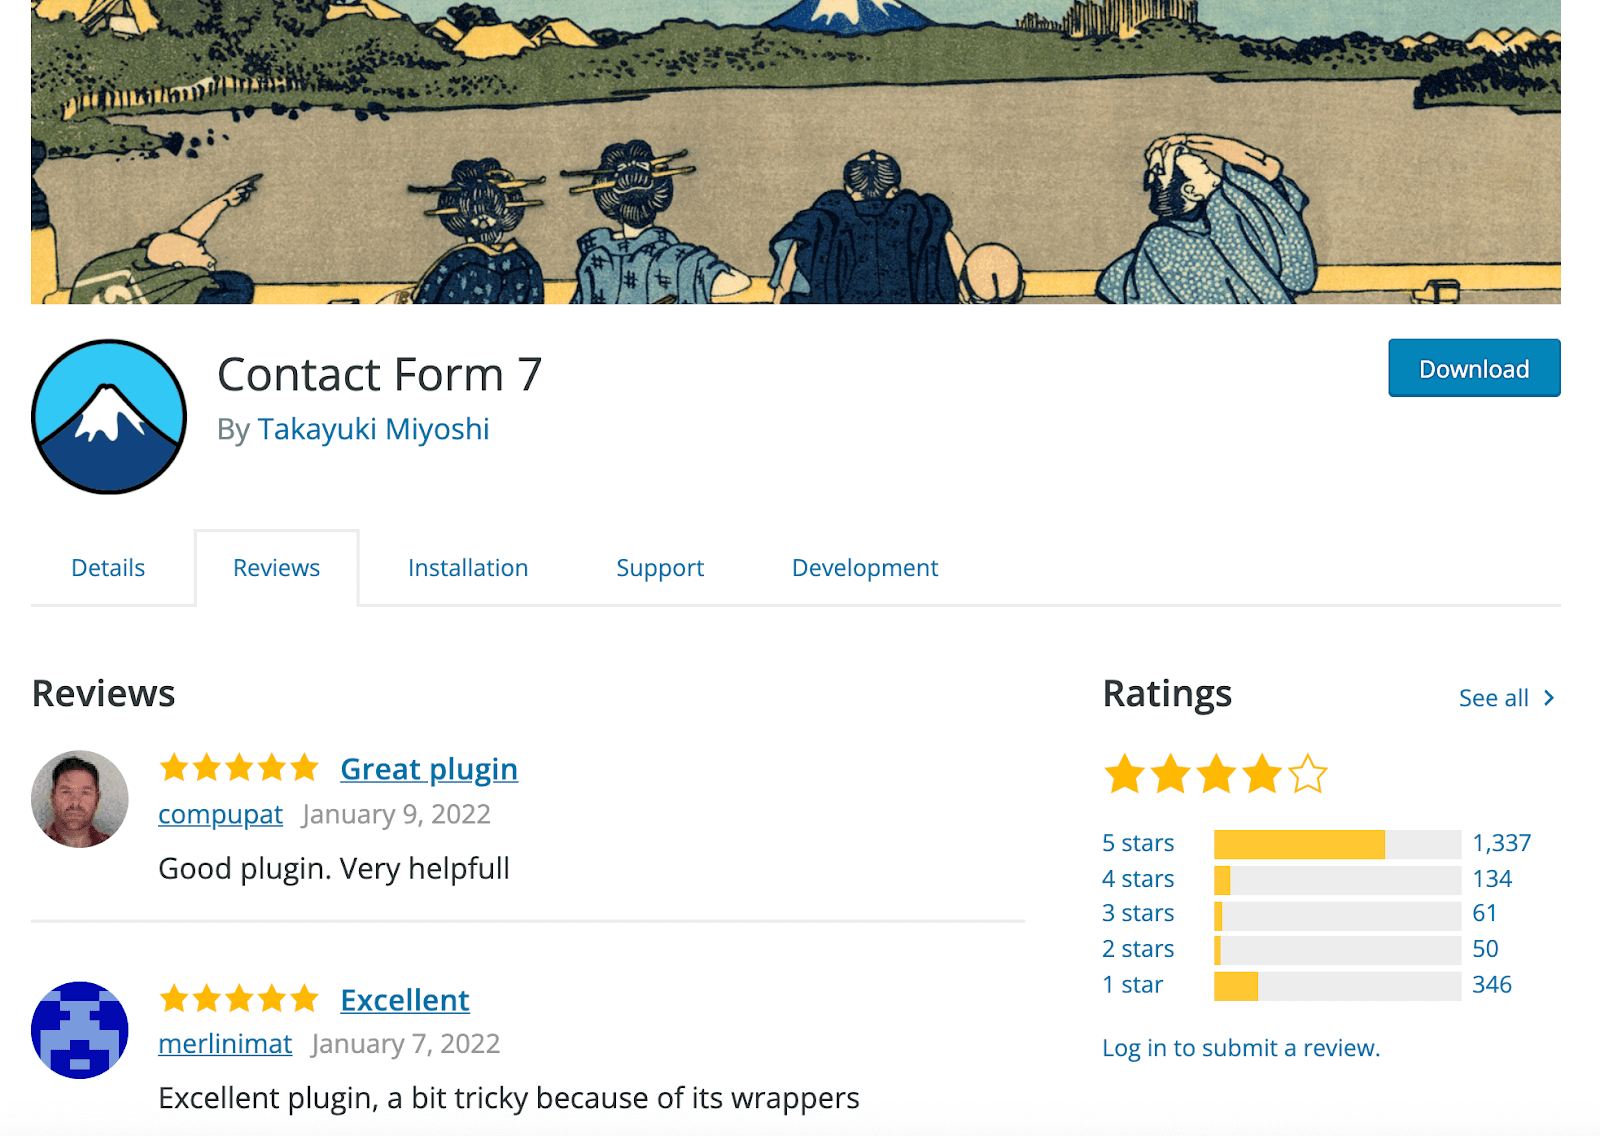
We recommend paying special attention to the most recent feedback. A plugin may have a positive average star rating, but an influx of recent negative reviews can indicate an issue with the latest release.
How to enable user registration in WordPress
Before you can start accepting registrations on your site’s front-end, you’ll need to enable signups on the back-end.
To do this, navigate to Settings → General. Now, find the Membership section, and select the accompanying Anyone can register checkbox.

While you’re here, you can configure the role for new signups. This setting restricts the actions members can perform on your site and the data they can access.
To keep your site secure, it’s wise not to automatically assign roles that give visitors elevated privileges, like Author or Editor. Instead, consider using Subscriber.

After making these changes, click on Save Changes. WordPress is now ready to accept signups, so the next step is giving visitors a way to register with your site.
How to create a user registration form in WordPress
Many websites offer membership functionality. With this in mind, it’s unsurprising that there are multiple ways to create a user registration form in WordPress. Here are four options:
1. Use the built‑in WordPress user registration form
Out of the box, WordPress has everything you need to add a basic registration form to your website. The form page is similar to the standard WordPress login screen for accessing the admin dashboard. Although it appears on a separate page, you can link to it from any widget-enabled area on your website.
To create this link, navigate to Appearance → Widgets. Now, find the area where you want to add the Register URL, like Footer Column 1 or Below Header. Then, click on this section to expand it.

Now, select the + icon and search for the Meta widget. When it appears, give it a click.

To save your changes, click on Update. Now, if you check out your site’s front‑end, you should notice a brand‑new Register link.
Clicking on this link will take visitors to a separate page with WordPress’ built-in user registration form. If the person already has an account, they can select the widget’s Log In URL instead. This will take them to a similar form to sign into their account.
2. Write custom code
It’s impossible to edit the built-in registration form using the standard WordPress tools and interface. Fortunately, you can edit the registration page with WordPress hooks.
Hooks are functions that you can apply to any Action or Filter. WordPress will perform Actions when a specific event occurs. In contrast, Filters can modify certain functions.
To customize the WordPress built-in registration form, it’s a good idea to make your own site-specific plugin. It will contain all of your custom code.
Placing all of this functionality in a separate plugin can ensure that you don’t lose your modifications whenever you update your site’s theme. This setup will also make it easier to activate and deactivate the registration form feature if required.
To start, connect to your server via File Transfer Protocol (FTP) using a client like FileZilla. Once you’ve made this connection, navigate to your site’s /wp‑content/plugins/ folder.

Create a new file with a descriptive name like registration.php. Next, open this file in your computer’s default text editor.
You can now implement all of your hooks. This step will vary depending on the user data you want to collect. You’ll find a demo over at the WordPress Codex, plus a breakdown of some of the hooks you may want to use.
3. Embed a Google Form
There are various third-party form creation tools. Google Forms is a popular option that stores all data in your Google Drive account, where it’s easily accessible.
To create a custom WordPress user registration form, head to the Google Forms website. You can then either make your form from scratch or use one of Google’s ready‑made templates.
To start, give your form a descriptive title. You can then add fields using the + icon.

If you’re creating a long registration form, you may want to group your questions into sections. You can achieve this with the Add Section icon.
Before visitors can sign up, you’ll need to make your form public. In the upper‑right corner, click on the three dots, and then select Add Collaborators.

In the subsequent popup, click on Change. You can now make this form accessible to anyone who visits your website.
Next, select the Send button. This opens a popup containing an embed link:

To add this form to your website, copy the embed code. Then, switch to your WordPress dashboard and navigate to the page or post where you want to use this form. You can then open the page and insert a new Custom HTML block.

Paste your embed code into this block. You can now update or publish this page, and your form will be ready to accept registrations.
Finally, head back to Google Forms and open your user registration form to view your responses. From here, select the Responses tab, and you can see all of the submitted information.
4. Use the Contact Form 7 plugin
When it comes to WordPress, there’s a plugin for almost everything — and building a user registration form is no exception. You can create a wide range of forms using Contact Form 7.
After activating this plugin, navigate to Contact → Add New. Now, give your form a descriptive name.
Contact Form 7 automatically creates fields for collecting the user’s name and email address. It also adds a space for them to write a message and a subject line. Since we’re creating a user registration form, you’ll likely want to delete those last two fields.

If you want to collect more information, you can add extra fields. For instance, you might want to give visitors the option to create a username.
The easiest method is to copy/paste a section of the pre‑existing field code. You can then modify the Label, which is displayed to the user. Finally, change the text* value, which is only visible on your site’s back‑end.

Alternatively, you can create fields with the buttons above the main editor, like email, URL, or tel. Clicking on any of these buttons will launch a popup where you can configure your field:

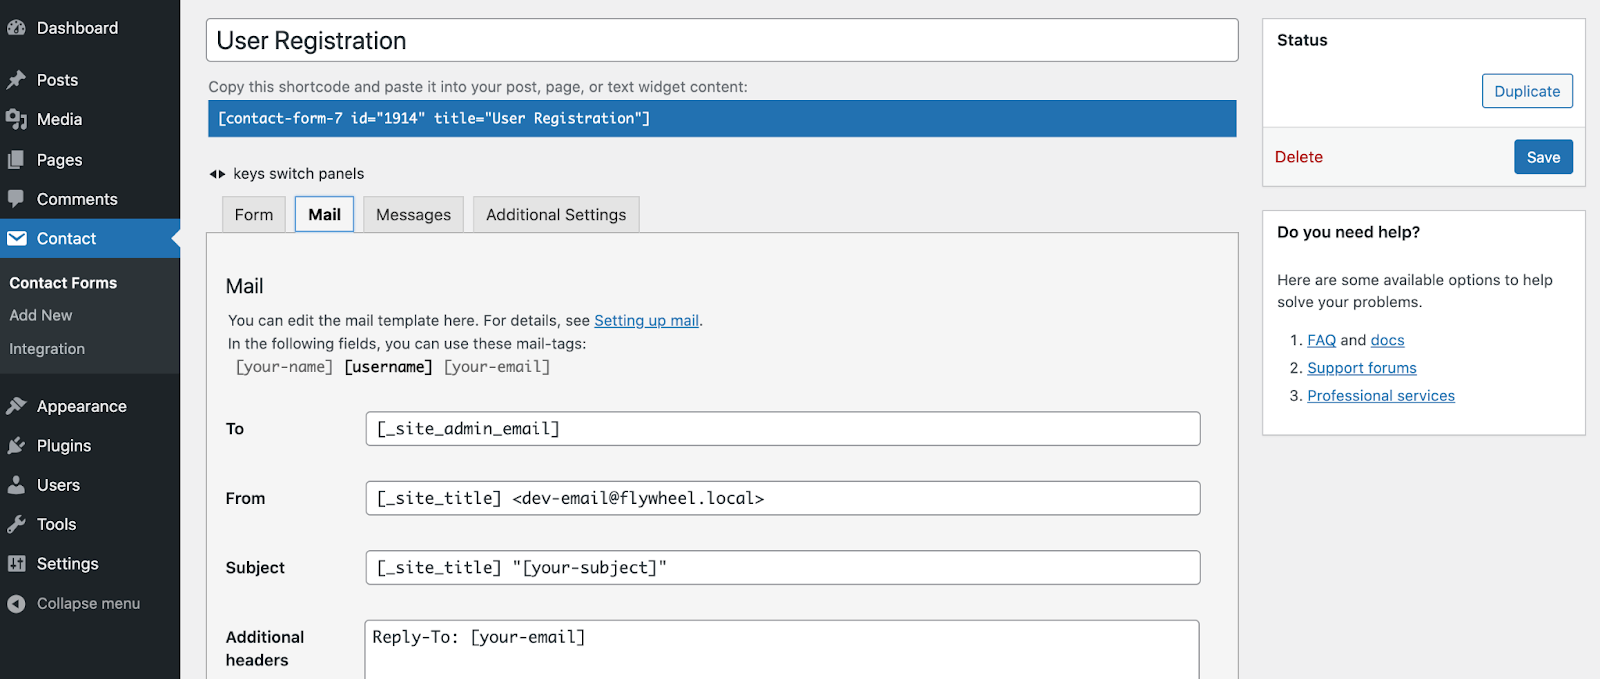
By default, submissions are sent to the email address associated with your WordPress admin account. You can change this by selecting the Mail tab. You can also customize the text included in Contact Form 7’s messages.
When you’re happy with your form, click on Save. Then, copy the provided shortcode and navigate to the page or post where you want to embed this form. Here, insert a new Shortcode block.

Paste the embed code into the Shortcode block. Your custom user registration form should now appear on your website.
How to protect your WordPress registration forms
Malicious third parties often try to exploit user registration forms. In fact, one in five account registrations is fraudulent. If hackers create an account on your site, they might use it to launch more sophisticated attacks or even flood your website with spam. With this danger in mind, securing your registration against attackers is essential.
1. Use an anti‑spam tool
Akismet works in the background, so it doesn’t interrupt the user experience or require any complicated setup. If you’re using a contact form plugin for your registration form — like Contact Form 7 — Akismet can run submissions against a global database of known spam. That means that you won’t have to deal with spammers and hackers on your forms; Akismet will take care of everything for you.
2. Change your form URL
If your form is located at an obvious URL, you may want to consider moving it. This new location makes it more difficult for hackers to find your form with automated bots.
You can modify the default WordPress user registration form URL with a plugin like WPS Hide Login.
3. Set up automated email authentication
If you only expect a small number of registrations, your admin may be able to review each submission manually. Still, this isn’t feasible for all websites.
If you receive many submissions, performing automated email authentication using a plugin like User Verification may make more sense. This tool enables you to respond to incoming registrations by sending verification emails to the addresses associated with those submissions. Users can then confirm their identities by clicking on authentication links.
4. Use a honeypot or CAPTCHA
Another option is protecting your form with a honeypot verification field or a CAPTCHA/reCAPTCHA, using a plugin like reCaptcha by BestWebSoft. These tools are specifically designed to stop bots in their tracks.
5. Limit access based on location
If your website has strong ties to a particular location, you might even restrict access based on the user’s geographical area, using IP2Location Redirection.
All of these techniques can help to keep your registration form safe. Still, you can also benefit from having a professional spam detection plugin in your corner.
6. Prevent brute force attacks
Brute force attacks occur when hackers use bots to try thousands of username and password combinations until they gain access to your website. Once a hacker gets into your site, they can use it for whatever malicious purpose they have in mind.
To protect your registration forms, you’ll want to enable brute force attack prevention with a plugin like Jetpack. It automatically blocks malicious actors before they even reach your site, and keeps hackers from gaining access or slowing things down due to repeated login attempts.
Drive conversions with WordPress user registration forms
Getting people to your site is no easy task, but convincing them to stay can be even more difficult. By offering user registrations, you boost your chances of transforming one‑time visitors into loyal, repeat members.
Let’s quickly recap four ways to create a WordPress user registration form:
- Use the built‑in WordPress user registration form.
- Write custom code.
- Embed a Google Form.
- Use the Contact Form 7 plugin.
With one of these methods, you should have no problem making a quick, convenient, and high-converting registration form. This feature then opens up a world of possibilities, including email marketing, retargeting campaigns, and personalized advertising.
